Understanding the Installation Process
When it’s time for a new water heater, it’s natural to feel a little uncertain about what the installation or replacement process involves. Knowing the steps ahead of time helps you feel more comfortable and confident about the work being done in your home. From the initial inspection to the final testing, each stage is designed to ensure your system is installed correctly, efficiently, and safely. By setting clear expectations, you’ll see how the process not only provides hot water but also gives you peace of mind about your home’s plumbing.
Step One: Inspection and Assessment
The process always begins with a thorough inspection of your existing water heater and plumbing system. A licensed plumber will look at the condition of your current unit, the type of connections in place, and the overall setup of your home. This step is crucial because it enables proper planning—whether you require a traditional tank replacement or a tankless upgrade. During this stage, you’ll also get recommendations about the right size and model for your household’s hot water needs. By making these decisions upfront, you avoid future problems and ensure the new system fits your lifestyle.
Step Two: Removal of the Old Unit
Once the assessment is complete and a plan is in place, the next step is safely removing the old water heater. This involves disconnecting the power or gas supply, draining the tank, and detaching all water lines. Removing an old system can be messy, but when it’s done professionally, the process is quick, safe, and controlled. Special care is taken to prevent water spills, leaks, or damage to surrounding areas. For you, this means less stress and the assurance that your home is being treated with care. This stage prepares the space for a seamless installation of your new unit.
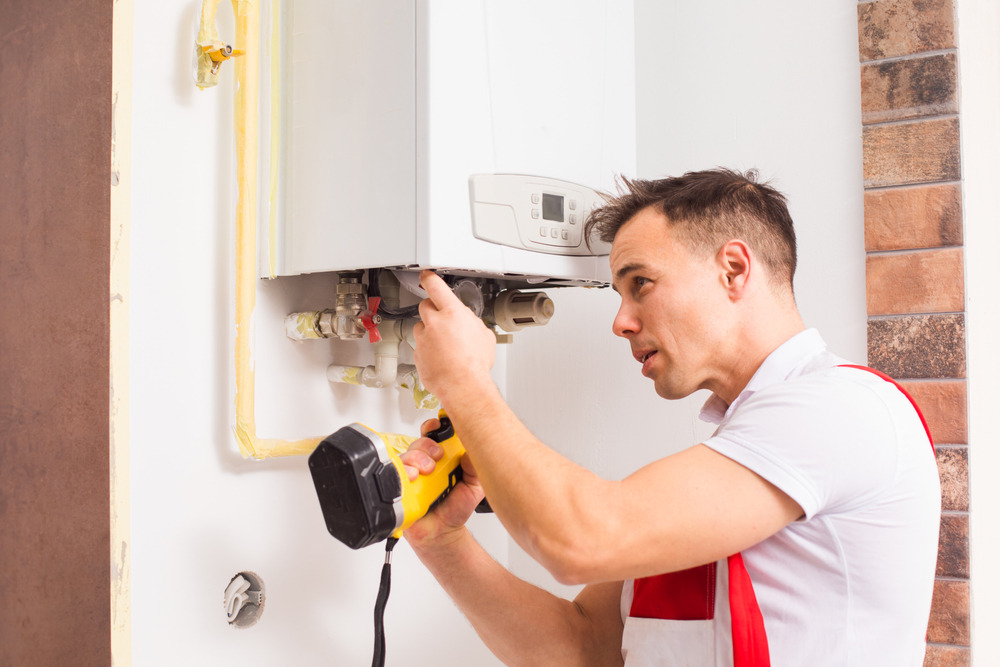
Step Three: Installation and Setup
After the old water heater is out, the new unit is brought in and carefully connected. For a traditional tank system, this means attaching the water lines, ensuring proper venting, and securing the system in place. For a tankless unit, additional steps may include upgrading electrical or gas lines to handle the increased demand. Every connection is thoroughly checked and double-checked for accuracy, ensuring the unit operates at peak performance. This stage is about precision and professionalism—small mistakes here can cause leaks, inefficiency, or safety risks, which is why expert installation makes all the difference.
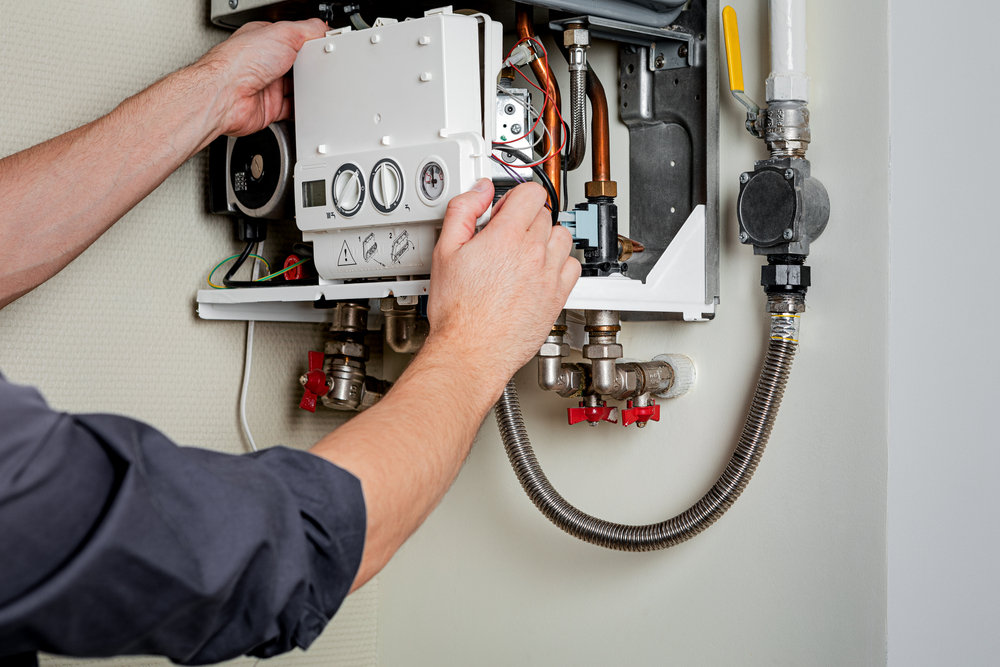
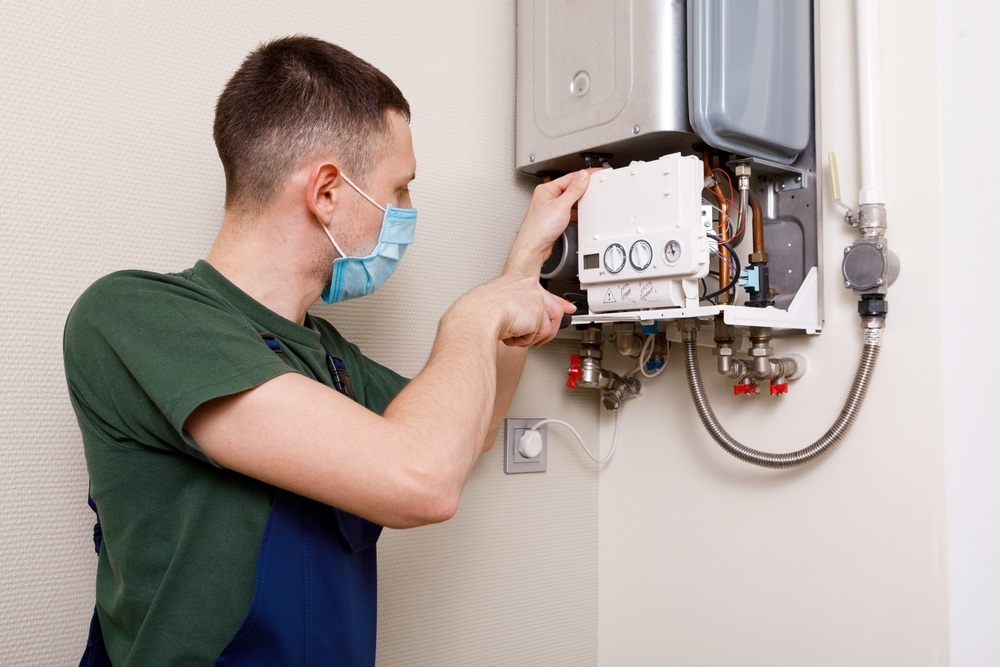
Step Four: Testing and Final Review
The last step in the process is testing the water heater to make sure it’s performing exactly as it should. This involves running the system, checking water temperature, monitoring pressure, and ensuring there are no leaks. Once testing is complete, the plumber will walk you through how to use the system, answer any questions, and explain any maintenance tips to keep it running smoothly. By the time the job is finished, you’ll have not only a reliable new water heater but also the knowledge and confidence to use it effectively.
Ready to upgrade your water heater with confidence?
Don’t let uncertainty decide how you handle your home’s plumbing. Call Tidal Plumbing today at (619) 902-4130 for expert water heater installations, reliable sewer inspections, and 24/7 plumbing support. With straightforward recommendations and proven solutions, we’re here to help you protect your home from the ground up.